How the Permanent Lighting Installation Works, Step by Step
Six stages take you from a first question to a lit home you control from your phone. Each one exists to remove guesswork before anything is fixed to your house.
STEP 01 — Get in Touch and Tell Us About Your Home
Begin by telling us about your home and the effect you want the lighting to have. Some homeowners are focused on a clean holiday display, while others want year-round accent lighting along the roofline. Knowing which matters most to you shapes every decision that follows.
STEP 02 — See a Free Design Mockup on Your Actual Home
Before you commit to anything, you receive a free permanent lighting design mockup built on a photo of your own home. It shows where the track would sit and how the lighting would look once it is switched on. This is the fastest way to answer the question most homeowners ask first.
STEP 03 — Approve a Custom Design Planned Around Your Architecture
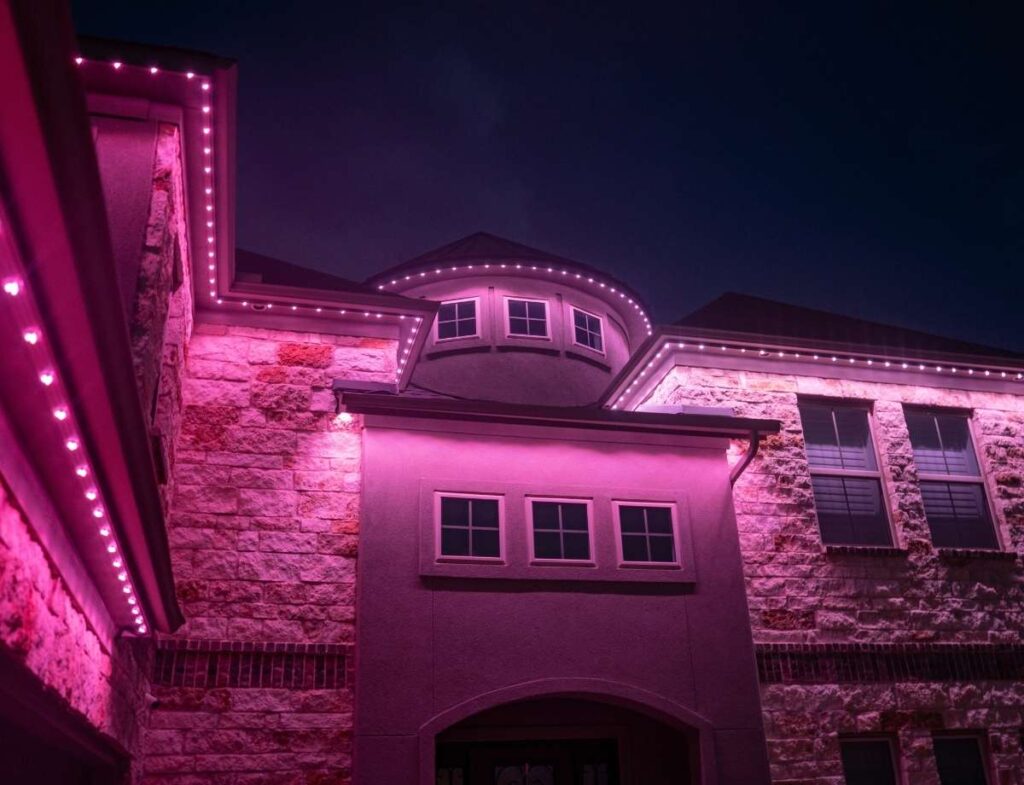
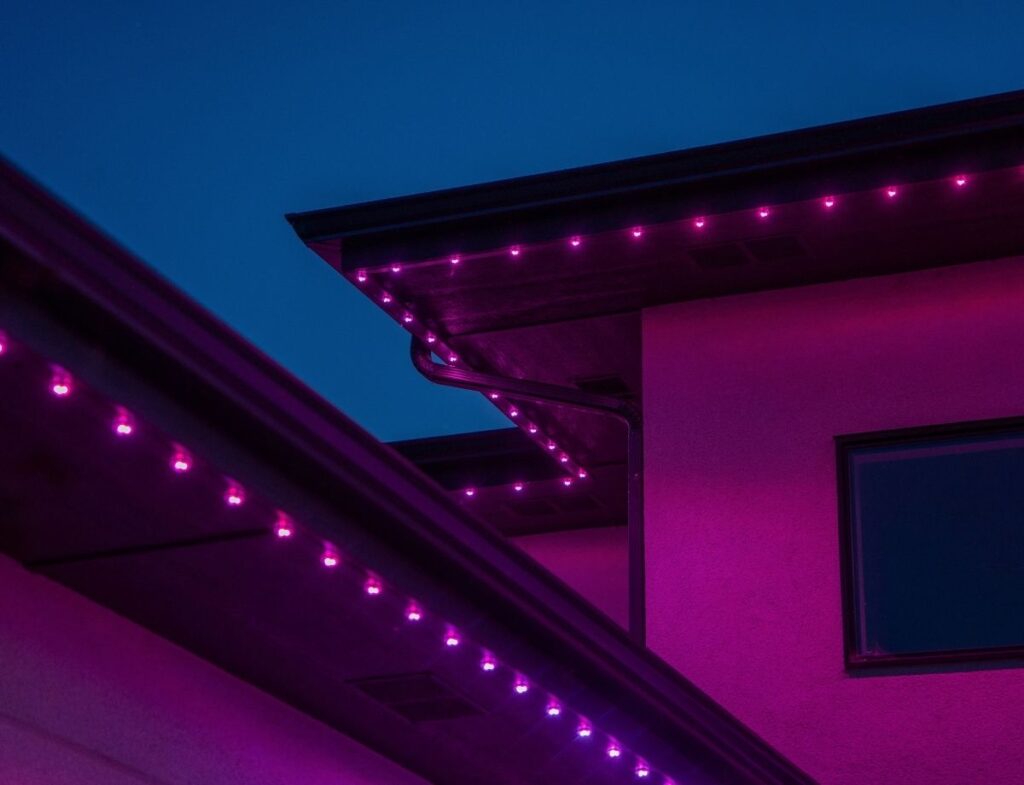
With the mockup agreed, the layout is planned around the features that give your home its shape. Rooflines, eaves, soffits, corners, gutters and transitions each get considered rather than covered by one continuous run. Track color is matched to the fascia, soffit or trim it sits against.
STEP 04 — Professional Installation With Straight Runs and Proper Spacing
Install day is where the detail work shows. The focus is on straight runs, clean corners, consistent spacing and thoughtful placement of every component. The goal is lighting that looks built into the home rather than added onto it.
STEP 05 — Programming, Zone Control and App Setup
Once the system is live, it is programmed around how you plan to use it. Thousands of color options and hundreds of built-in presets and patterns are available, alongside individual zone control and music synchronization. You are shown how to run all of it from the app before the job is signed off.
STEP 06 — Ongoing Local Support After the Lights Are On
Support does not stop when the installation is finished. Local help is available for service questions, new programming ideas and additions to the system later on. A 5-year manufacturer warranty from Bosso covers the product, and you can add extended protection.
Practical Things to Know Before Your Install Date
A few practical points help the day itself run smoothly.
- Your design comes first — Nothing is scheduled until you have seen the mockup and approved the layout for your home.
- Clear access helps — Unobstructed access to the roofline, gutters and exterior walls keeps the work moving steadily.
- Power and app access — The system runs from an exterior power source and is controlled through the app once setup is complete.
- Built for the weather here — Components are made for continuous exterior use in Pacific Northwest conditions.
- Questions later are normal — Programming ideas and additions can be handled after install through local support.
Start With a Free Design Mockup of Your Own Home
Seeing the lighting on your own house takes the guesswork out of an expensive decision — Ask for your free design mockup and you will know exactly what you are buying.