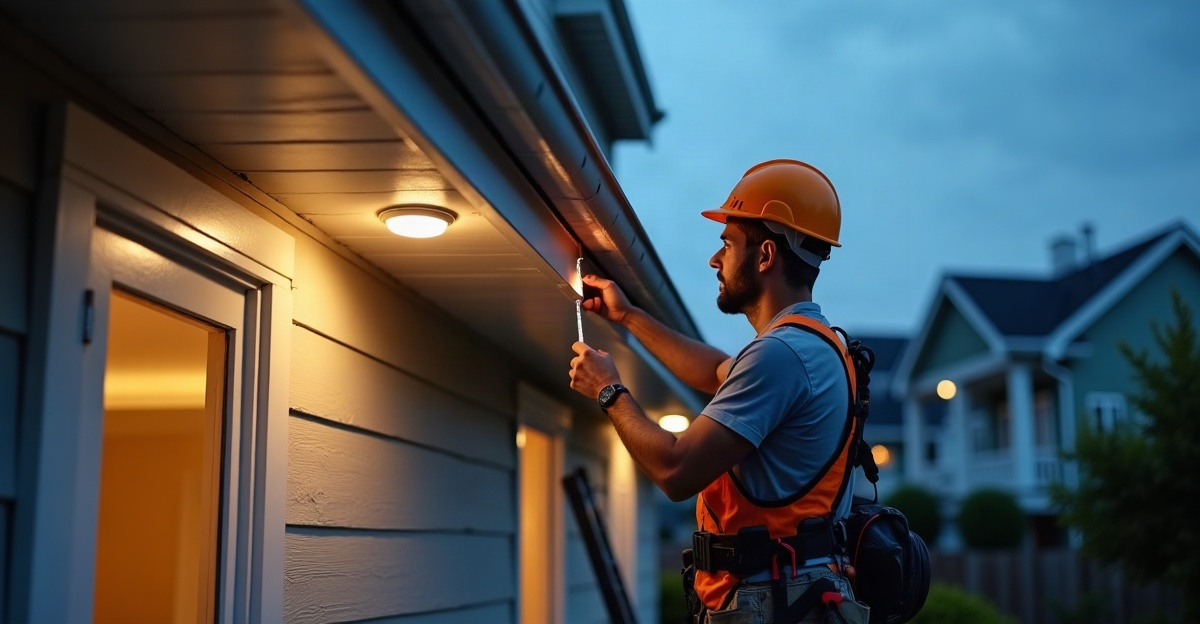
How to Install Permanent Outdoor Lights? Step by Step
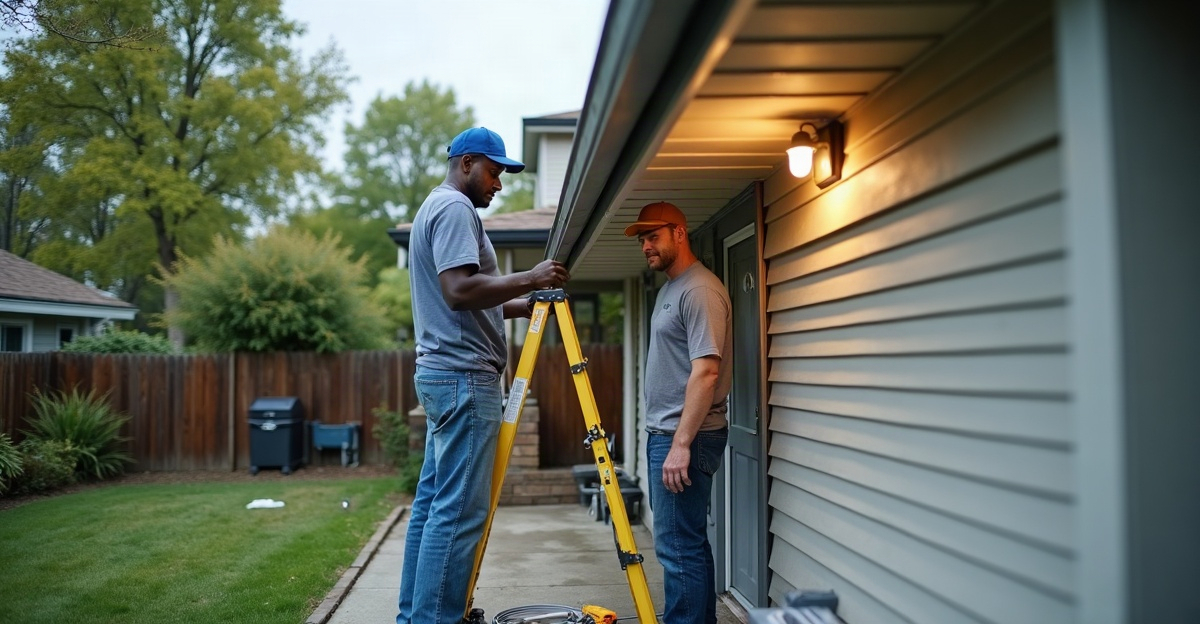
We start permanent outdoor light installation by assessing roof access, existing exterior power, weather exposure, and project scope. We then decide whether DIY work fits the site or whether professional support offers the safer choice. Successful results require accurate roofline measurements, manufacturer-approved mounts and connections, protected wiring, even light spacing, and complete smart-control testing.
Key Takeaways
- We can handle simple, single-story soffit runs if we have safe access and a suitable GFCI-protected exterior outlet.
- We recommend qualified professionals for steep or multi-story rooflines, complex gables, challenging mounting surfaces, new outlets, hardwired connections, or electrical-panel work.
- We plan and measure each run, transition, controller location, cable path, and manufacturer-approved maximum run length before we order or cut materials.
- We test light sections, cables, controllers, and Wi-Fi app functions at ground level before mounting equipment along the roofline.
- We use weather-rated connections, hide and protect cables, maintain consistent mounting depth, and inspect the system regularly for moisture, loose hardware, and connectivity problems.
Start With Safety, Access, and the DIY-or-Professional Decision
Permanent outdoor lighting installation puts us near ladders, roof edges, uneven ground, power tools, and exterior electrical components. We should treat those conditions seriously before planning a single light run.
DIY installation can work on a simple, single-story home with a low, accessible soffit, stable ground, an appropriate existing exterior outlet, and a manufacturer-approved mounting method. A professional is the better choice for steep roofs, second stories, difficult access, complex gables, masonry or stucco surfaces, metal siding, and any electrical work beyond plugging into a suitable existing outlet.
We should never modify household wiring, add a circuit, bypass weather protection, overload a circuit, connect equipment to a panel, or hardwire lighting equipment ourselves. A qualified electrician or installer must handle new outlets, hardwired connections, panel work, and electrical modifications.
Portland and Vancouver weather requires extra attention to rain exposure. We should use exterior-rated connections and a GFCI-protected outlet. A GFCI outlet helps reduce shock risk by shutting off power when it detects certain ground faults. Local permit and electrical requirements can differ, so we should verify requirements in the jurisdiction where the home is located.
Before deciding, assess roof height and pitch, roofline complexity, soffit or siding material, exterior power access, Wi-Fi availability, rain exposure, ladder comfort, and the desired finish quality. A simple soffit run may suit an experienced DIY installer. A multi-story roofline with gables, limited soffit depth, and concealed cable needs usually calls for professional help.
At Permanent Lighting PDX, we design and install permanent lighting for Portland–Vancouver homes. We account for soffit depth, roofline transitions, wire concealment, outlet locations, and rain exposure before work begins.
Plan the System, Layout, and Power Before Buying or Mounting
Permanent exterior lighting is a year-round system that commonly includes low-profile tracks or mounting channels, LED light sections, a controller, and smart-app controls. Unlike temporary holiday strings, permanent house lights stay in place through every season.
These systems support holiday colors, game-day displays, events, architectural accents, curb appeal, and everyday warm-white lighting. They do not replace code-required exterior, pathway, or security lighting.
Every outdoor LED lighting system has different voltage, controller, track, mounting, and maximum-run requirements. We should follow the manufacturer’s instructions for the specific product from start to finish.
Color selection affects the system’s everyday value. RGB lighting uses red, green, and blue LEDs to create color combinations. RGBW adds a dedicated white LED, which may provide a more natural white-light option depending on the product.
Plan the layout before ordering materials. Consistent light spacing and placement depth under the soffit create an even nighttime pattern. Lights mounted too close to the roof edge, or at changing depths, can create glare and uneven scallops of light. We should also plan corner transitions, gables, viewing angles, and concealed wire routing before installation day.
Measure every straight run, corner, gable, transition, controller location, and distance to the appropriate power source. Include lead cables, approved extensions, and manufacturer-specific maximum run lengths. Do not cut, mount, or order final materials until these measurements are confirmed.
The controller should remain accessible for service, protected from unnecessary weather exposure as required by its instructions, close to appropriate power, and within reliable Wi-Fi range if app control matters. A design mockup helps us confirm roofline coverage, color options, placement depth, and the discreet daytime appearance before work begins.
General materials include a measuring tape, ladder, approved drill or driver, manufacturer-supplied fasteners or adhesive, tracks or clips, controller, application-rated lead or extension cables, cleaning supplies, and a phone or tablet for app setup. For custom planning, our exterior lighting design service helps map the finished look before installation.
How to Install Permanent Outdoor Lights: Step by Step
Exact mounting, wiring, voltage, spacing, connection, and controller requirements vary by product and manufacturer. These steps explain how to install permanent outdoor lights safely at a general level while keeping product instructions in control.
Choose a compatible system. Select a system that matches the home’s roofline, approved mounting surface, color preferences, smart features, and existing power access. Confirm that the track or mounting method works with the soffit, fascia, siding, or other intended surface.
Measure all roofline sections. Measure rooflines, corners, gables, and transitions, as well as the controller-to-power distance. Confirm maximum run limits before cutting any track, cable, or light section.
Verify the controller location and power access. Use weather-protected, appropriate connections only. If the project needs a new outlet, hardwired connection, or electrical upgrade, stop and hire a qualified electrician or installer.
Clean and inspect the mounting surface. Look for loose material, moisture damage, deteriorated paint, or surface conditions that could prevent tracks, clips, or adhesive from holding securely.
Test components on the ground. Test every light section, cable, controller, and app feature before mounting. This ground test can reveal a faulty section, controller issue, or Wi-Fi problem before ladder work begins.
Mark runs and mounting depth. Mark each run, corner, transition, and mounting depth. Keep the position consistent along the roofline to support a clean daytime appearance and an even nighttime light pattern.
Install hardware as instructed. Install tracks, channels, clips, or other hardware exactly as the manufacturer directs. Use only approved fasteners or adhesive for the specific surface material. Avoid forcing hardware into a surface that is not approved for the system.
Mount light sections and route cables. Route cables neatly and discreetly. Do not pinch, sharply bend, stretch, or leave wires exposed where weather, movement, landscaping, or routine maintenance could damage them.
Protect exterior connections. Use a weather-rated connection where required, and keep connections protected from rain and standing water.
Set up controls and test after dark. Connect the controller, complete app setup, and confirm Wi-Fi connectivity if the system uses smart controls. Test zones, colors, brightness, scenes, timers, schedules, and visibility after dark. Adjust glare, dark spots, uneven spacing, or unwanted sightlines before treating the installation as complete.
Finally, inspect mounting points, cable routing, controller placement, and protected connections. Keep the manufacturer documentation for maintenance and warranty service. For homes that need an experienced crew, we provide permanent outdoor lighting installation with a polished roofline finish.
Protect the Installation From Rain, Glare, and Common Mistakes
Frequent Portland and Vancouver rain makes weather protection a core part of how to install outdoor permanent lights. We should use exterior-rated connections, route cables so water does not collect around them, and inspect visible components periodically.
Follow manufacturer instructions for drip loops where applicable. A drip loop is a downward loop in a cable that can help direct water away from a connection when the product calls for it. We should not assume that every controller, connector, power supply, or extension is rated for direct outdoor exposure.
Common problems usually begin with planning or alignment. Uneven spacing, inconsistent mounting depth, skipped ground testing, visible wires, and poorly placed controllers can weaken the finished result. A controller located too far from Wi-Fi, exposed to excess moisture, or difficult to service creates avoidable trouble later.
We should also avoid non-weather-rated connections, unapproved mounting hardware, and systems selected without confirming power access or manufacturer run limits. Overreaching from a ladder and working during unsafe weather conditions create risks that no lighting project justifies.
Glare is another frequent issue. Lights installed too close to the roof edge or aimed inconsistently can appear harsh from the street or nearby windows. Consistent soffit depth, clean roofline transitions, and concealed wire routing produce a better visual result.
Permanent lighting is generally lower-maintenance than seasonal lighting, but it is not necessarily maintenance-free. Tall rooflines, steep pitches, multiple stories, complex gables, stucco, brick, metal siding, limited exterior power, and custom track work all increase installation difficulty.
Compare DIY and Professional Installation and Understand Cost Drivers
A careful DIY project can work on a simple home. Professional permanent outdoor light installation often makes more sense where access, finish quality, or power planning adds difficulty.
| Consideration | DIY Installation | Professional Installation |
|---|---|---|
| Upfront cost | May reduce initial labor expense. | Pricing reflects design, labor, access equipment, installation skill, and possible service support. |
| Time | Varies with experience, layout, system, and weather. | May be completed more efficiently, depending on the project. |
| Safety | Requires confidence around ladders and roofline work. | Helps reduce difficult-access risks. |
| Appearance | Can look clean on straightforward rooflines. | Supports consistent spacing, concealed wires, transitions, and custom track work. |
| Electrical needs | Limited to appropriate existing power access. | Qualified professionals can coordinate required electrical work. |
| Warranty and service | Depends on product terms. | Depends on product and workmanship terms. |
| Long-term reliability | Depends on product quality, weather protection, installation, and maintenance. | Depends on the same factors, with installation experience added. |
Permanent lighting cost depends on linear footage, roofline complexity, number of stories, soffit or siding material, electrical access, controller options, smart lighting features, custom track work, labor, access difficulty, and required electrical upgrades. We should not rely on fixed price promises without a site-specific assessment.
LEDs generally use less energy than traditional incandescent holiday lights. Actual energy use still depends on the system, brightness, color settings, operating schedule, climate exposure, and total footage installed. Durability and lifespan also vary by product, operating conditions, weather exposure, and installation quality.
We explain the assessment and installation sequence clearly through our installation process, so homeowners can understand what affects scope and finish quality before moving forward.
Set Up Smart Controls and Maintain Year-Round LED Roofline Lights
Many year-round LED roofline lights offer app-based controls for separate zones, color scenes, warm-white settings, brightness, timers, schedules, holiday presets, and event lighting. Available functions depend on the controller and system selected.
Wi-Fi performance can change based on controller location, home construction, signal strength, and distance from the router. We should test app control before finalizing controller placement. A system that connects well indoors may lose reliability near an exterior controller location.
Check visible wires, tracks, connectors, mounting points, controller operation, and app settings periodically. Clean components only as the manufacturer allows. Cleaning methods or products that damage lenses, wiring, seals, tracks, or finishes can shorten the useful life of permanent house lights.
Before holidays and special events, confirm app updates, zones, schedules, brightness settings, and controller communication. Contact a professional if light sections fail, wiring appears damaged, connections show moisture concerns, tracks loosen, or the controller repeatedly loses power or connectivity.
Permanent lights can serve far more than Christmas. An outdoor LED lighting system can provide subtle warm-white architectural light most evenings, then shift to colors for holidays, celebrations, sports, and seasonal events. Homeowners who want a custom layout, difficult-access support, or a cleaner finished appearance can request a free design mockup or installation estimate through our contact page.